Appendix 2: Uploading XOOPS via FTP
This appendix walks through deploying XOOPS 2.7.0 to a remote host using FTP or SFTP. Any control panel (cPanel, Plesk, DirectAdmin, etc.) will expose the same underlying steps.
1. Prepare the database
Section titled “1. Prepare the database”Through your host’s control panel:
- Create a new MySQL database for XOOPS.
- Create a database user with a strong password.
- Grant the user full privileges on the newly created database.
- Record the database name, username, password, and host — you will enter them into the XOOPS installer.
Tip
Modern control panels generate strong passwords for you. Since the application stores the password in
xoops_data/data/secure.php, you do not need to type it often — prefer a long, randomly generated value.
2. Create an administrator mailbox
Section titled “2. Create an administrator mailbox”Create an email mailbox that will receive site administration notifications. The XOOPS installer asks for this address during the webmaster account setup and validates it with FILTER_VALIDATE_EMAIL.
3. Upload the files
Section titled “3. Upload the files”XOOPS 2.7.0 ships with its third-party dependencies pre-installed in xoops_lib/vendor/ (Composer packages, Smarty 4, HTMLPurifier, PHPMailer, Monolog, TCPDF, and more). This makes xoops_lib/ significantly larger than in 2.5.x — expect tens of megabytes.
Do not selectively skip files inside xoops_lib/vendor/. Skipping files in the Composer vendor tree will break autoloading and the install will fail.
Upload structure (assuming public_html is the document root):
-
Upload
xoops_data/andxoops_lib/next topublic_html, not inside it. Placing them outside the web root is the recommended security posture for 2.7.0./home/your-user/├── public_html/├── xoops_data/ ← upload here└── xoops_lib/ ← upload here
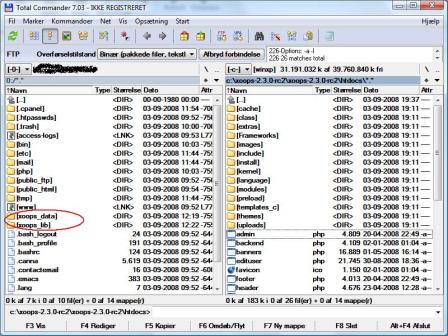
-
Upload the remaining contents of the distribution
htdocs/directory intopublic_html/.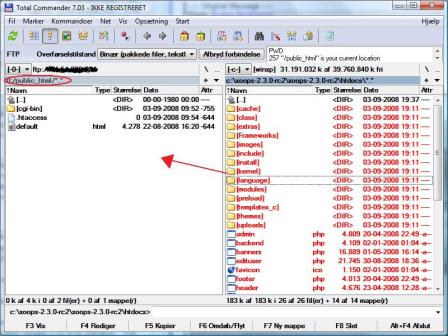
If your host does not allow directories outside the document root
Upload
xoops_data/andxoops_lib/insidepublic_html/and rename them to non-obvious names (for examplexdata_8f3k2/andxlib_7h2m1/). You will enter the renamed paths into the installer when it asks for the XOOPS Data Path and XOOPS Library Path.
4. Make writable directories writable
Section titled “4. Make writable directories writable”Through the FTP client’s CHMOD dialog (or SSH), make the directories listed in Chapter 2 writable by the web server. On most shared hosts, 0775 on directories and 0664 on mainfile.php are sufficient. 0777 is acceptable during installation if your host runs PHP under a user other than the FTP user, but tighten the permissions after the install completes.
5. Launch the installer
Section titled “5. Launch the installer”Point your browser at the public URL of the site. If all files are in place, the XOOPS Installation Wizard starts and you can follow the rest of this guide from Chapter 2 onwards.